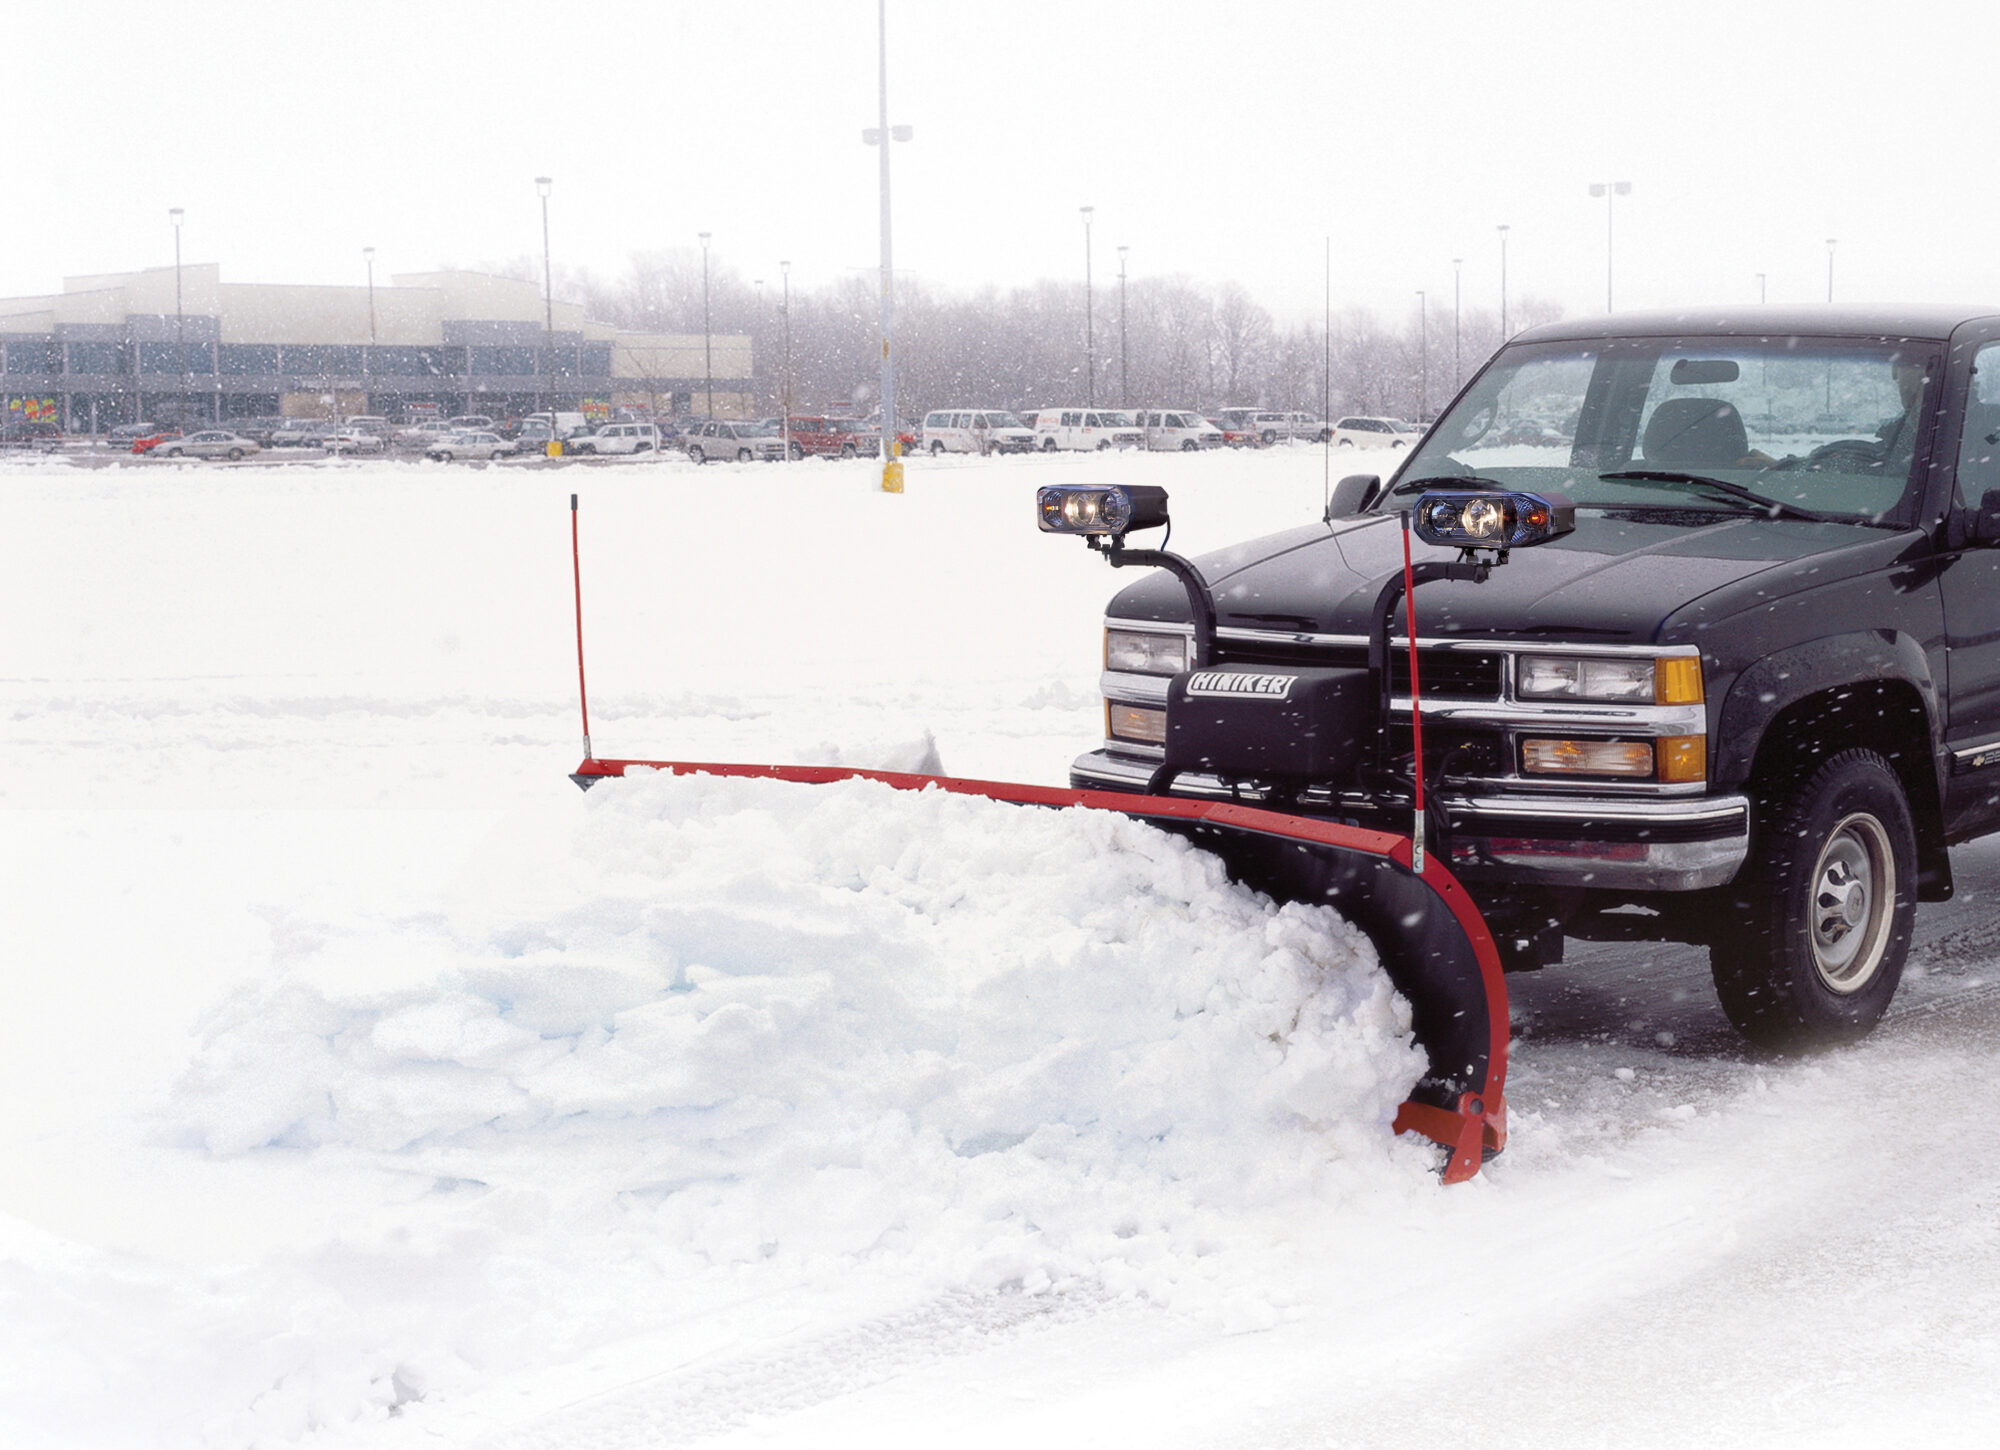
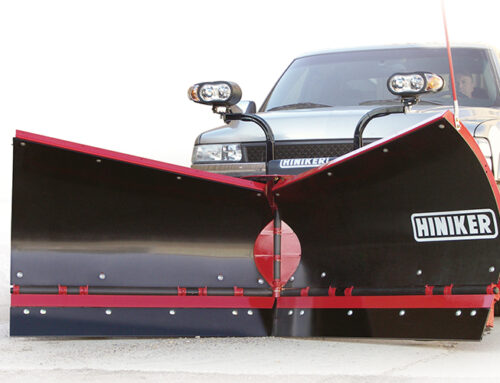
After a long winter of successfully plowing your business parking lot or offering snowplow services to your area, it’s time to remove your snowplow. This process is relatively straightforward with Hiniker snowplows and easy for any beginner. Follow this step-by-step guide to safely remove your plow and enjoy safe storage this summer.
Prepare Your Plow
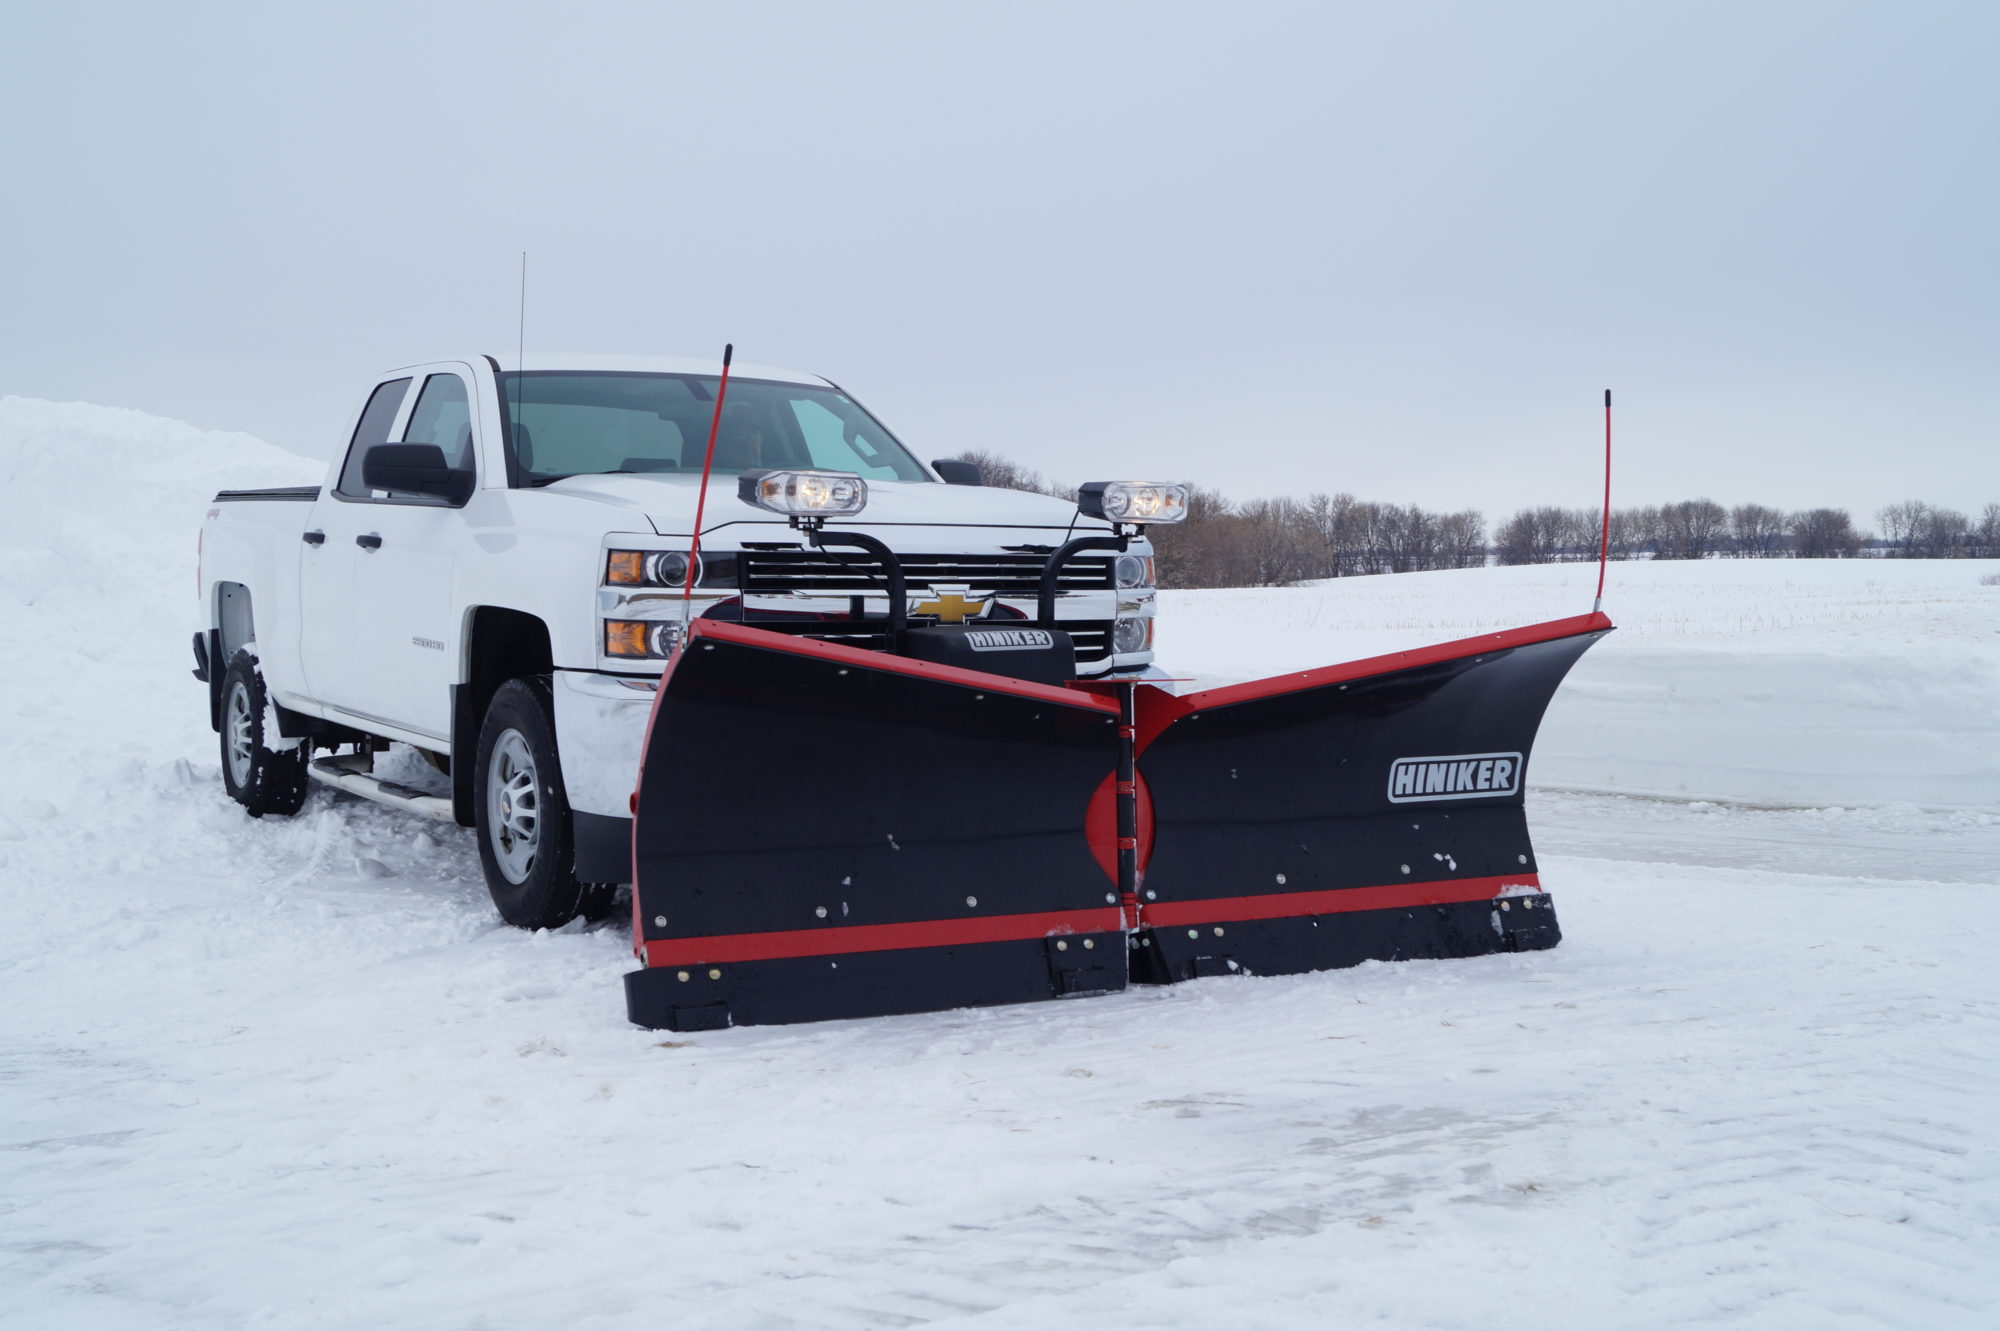
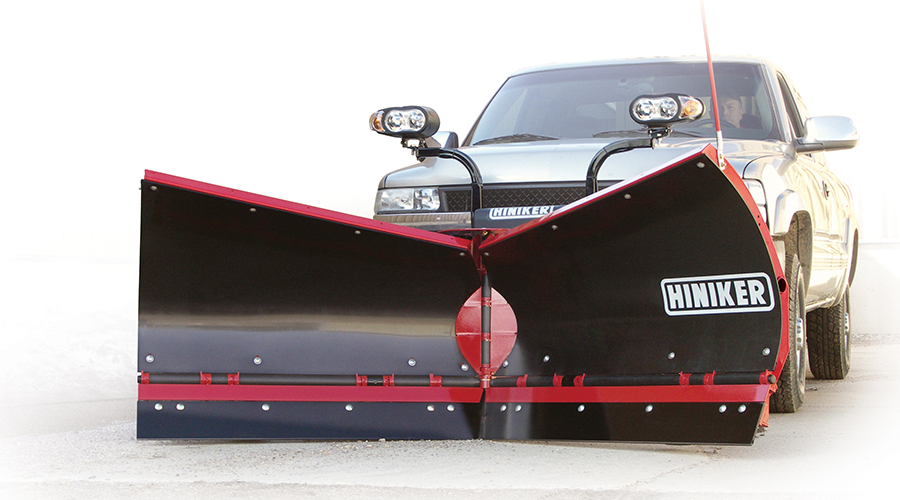
Your truck plow is very easy to install and takes only a few steps to uninstall. First, you need to prepare your plow before you start disconnecting any component. Park your truck in the location you wish to store your plow, ideally in a sheltered area off the ground to prevent it from sitting in water or being outdoors in the elements. Lower your plow completely using your plow controller joystick. A green light means the plow is still lifted in the air. An orange light should appear when the plow is fully lowered.
Don’t turn your truck off, keep your truck running and your controller on. Put your controller in a safe place to ensure it doesn’t lift or move as you work on disconnecting your Hiniker snowplow.
Compress Lift Cylinder
The lift cylinder needs to be compressed before you can completely remove your plow. This requires some pressure, so it’s easiest to step on the upper lift links. Make sure you have a firm grip, so you don’t lose your balance as you step on the link. This should cause it to lower and compress the cylinder.
Rotate Stop Plate
The stop plate is a small metal piece that needs to be rotating before releasing your plow. It can be tricky to get it to click into place, so you may need to push on the headlight bar and rock it. Connect the stop plate to the closest tooth to your truck and be sure it’s secure.
Disengage Sliders
Next, you’ll need to locate and disengage the sliders. There’s a safety pin holding it in place that you’ll need to remove. Locate the slide handle and push it toward the middle of your truck. Put the pin back in place so you don’t lose it.
The kickstand must be lowered. It also has a safety pin holding it in place. Be sure you don’t lose the safety pin and replace it immediately once the kickstand is lowered. Your Hiniker plow has two wires connecting the plow to the control box: a power cable and a 16-pin connector. Disconnect both wires by pulling firmly in a straight direction.
Carefully Back Away From Your Snowplow
Double-check your work. If you’ve followed all these steps and nothing is connected to your truck, you’re ready to drive away from your plow. Slowly reverse your truck and back away from your snowplow. Your plow should remain standing safely on its own and your truck should be free to drive without your plow all spring, summer, and fall.
Connecting Your Snowplow
After disconnecting your plow, connecting will be a straightforward process. This will allow you to gear up for a sudden snowfall in a pinch. To connect your plow, simply follow these steps in reverse:
- Drive slowly and directly into the receiving pockets to engage your plow.
- Engage sliders and use the pin to secure them.
- Raise your kickstand.
- Reconnect both power and 16-pin connection cables.
Your stop plate should lower on its own once you use your snowplow, although you can lower it on its own.
Learn More at From Hiniker
Watch our customer service manager guides you through the process in our tutorial videos. Find your dealer to discuss the many Hiniker products available.
