The “correct” direction a snowplow joystick operates can vary from user to user, depending on the type of machinery they are accustomed to using. Luckily, Hiniker snowplow joysticks are able to be customized to your specific preference, whether that is forward up or forward down. If your switch is damaged, or if you want to reverse the direction of your four-way switch for more intuitive operation, follow these simple directions today.
The Purpose of a Joystick Switch
Our efficient joystick switches are matched to your specific model of Hiniker snowplow and are designed to offer one-handed movement of your plow. Each switch is easy to operate and allows you to adjust your plow as you navigate uneven terrain or large drifts.
Compatible Hiniker Models
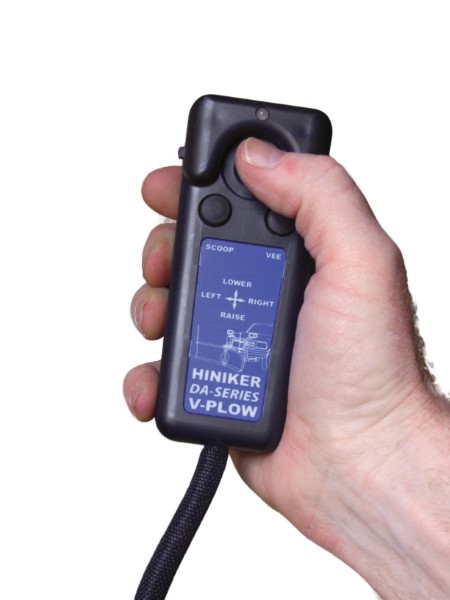
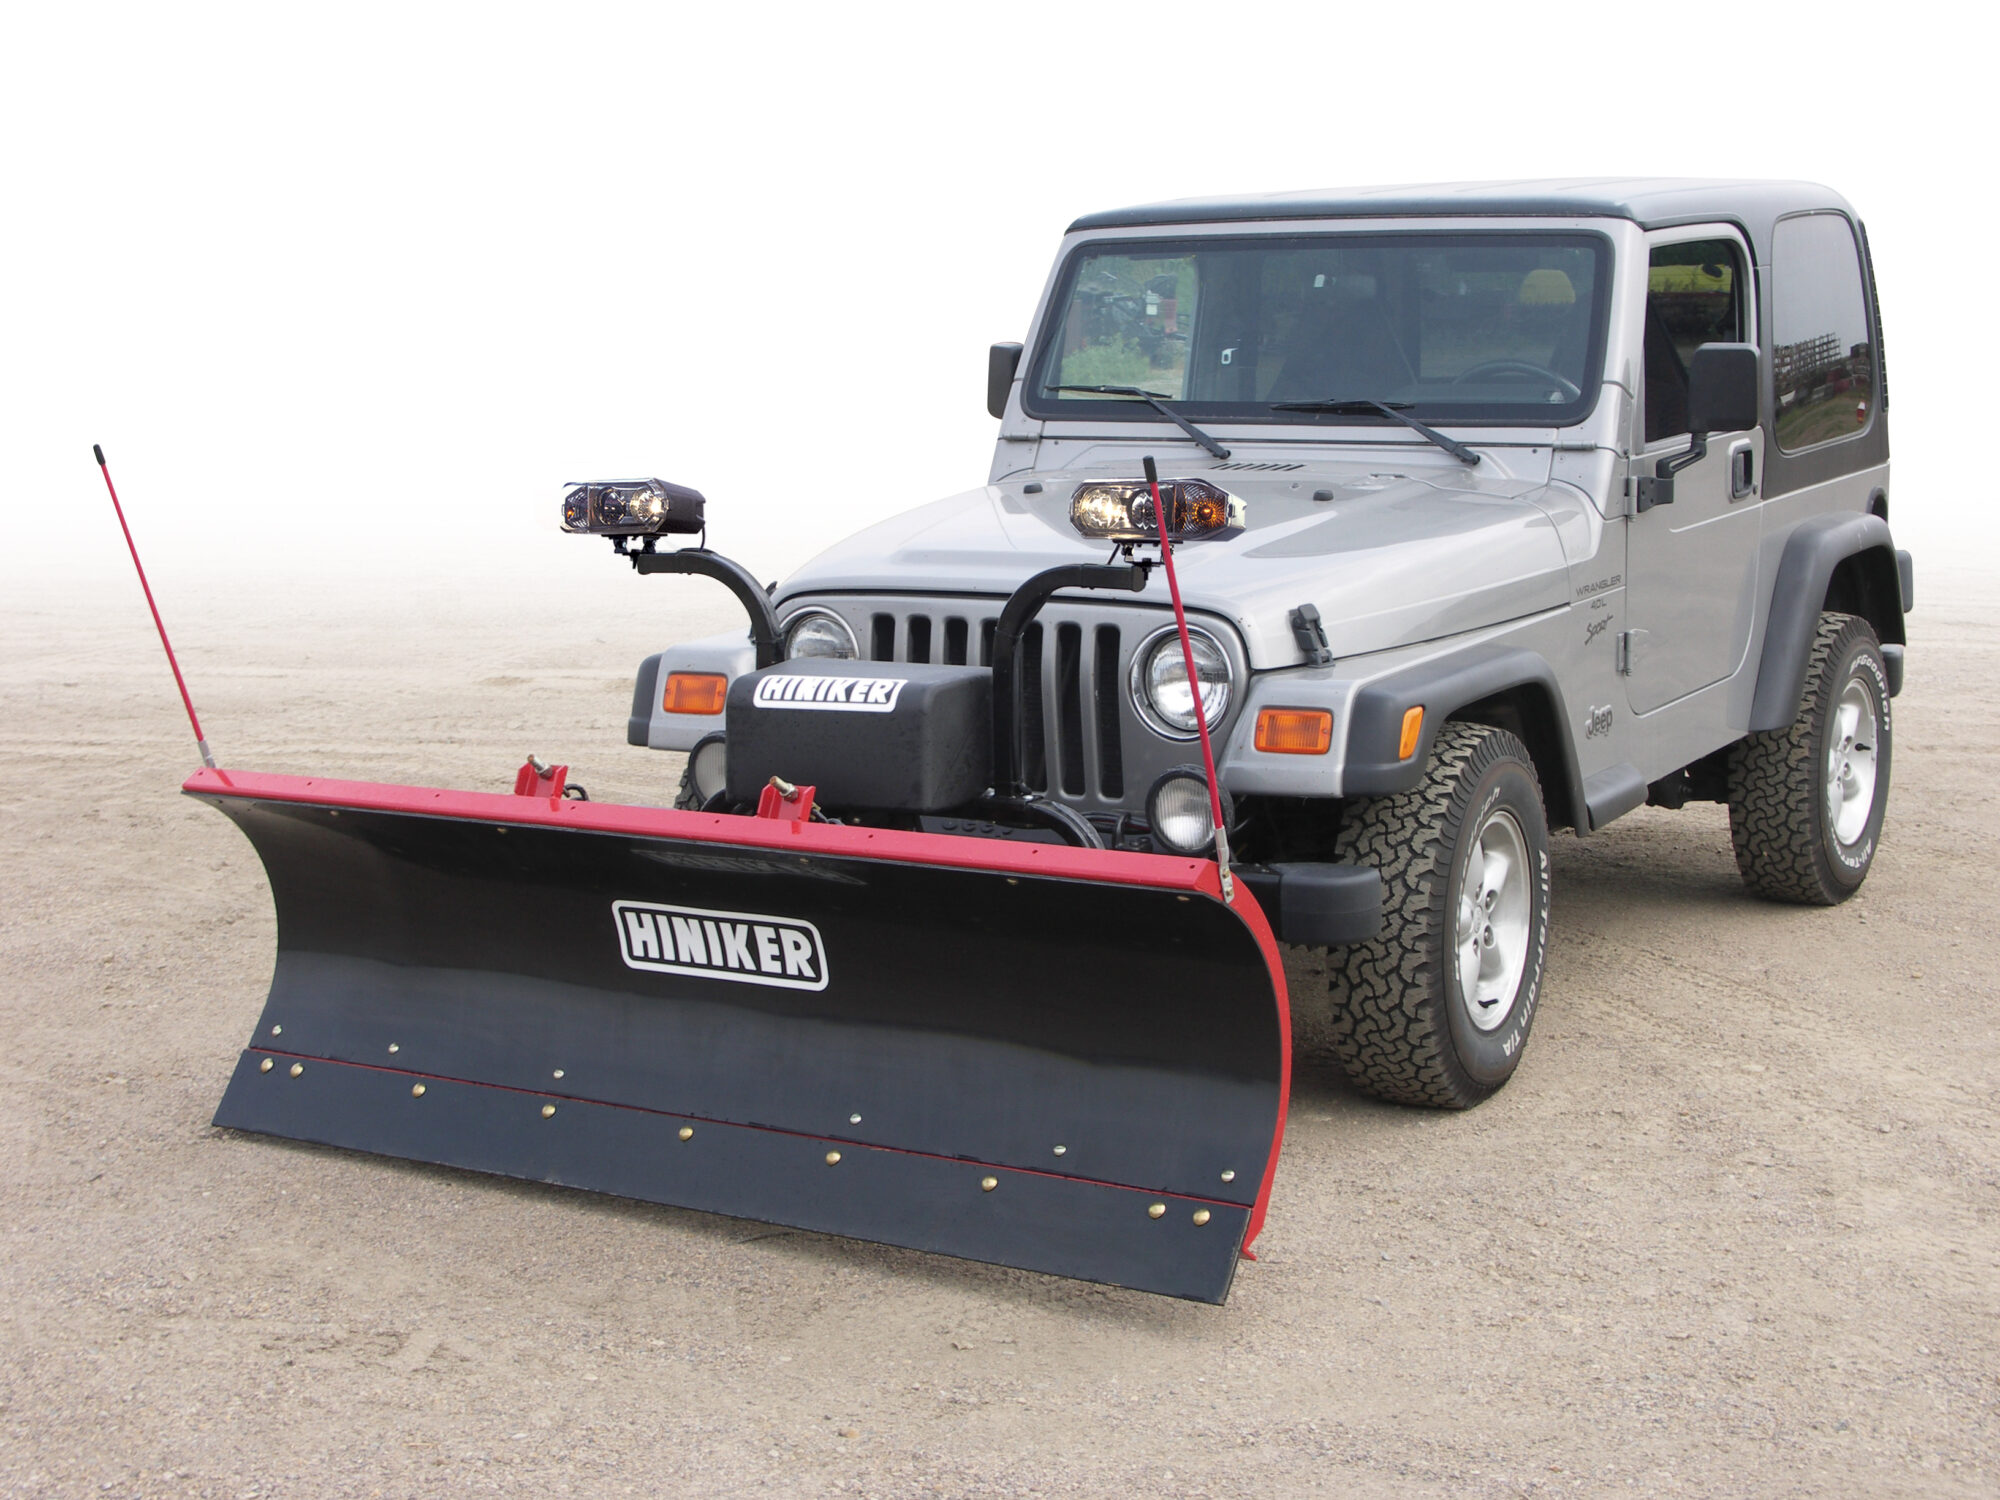
A joystick switch is used on all of our snowplow models. Depending on the type of plow you’re using, the color of your faceplate may change. Check your controller to see if you have a gray, red or blue faceplate. This will determine the type of controller you have for your Hiniker snowplow.
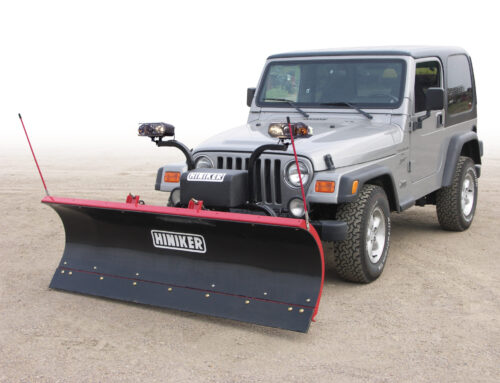
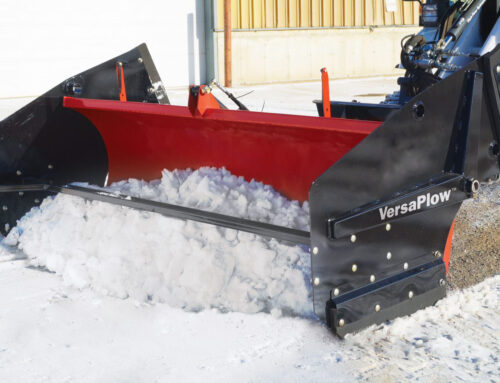
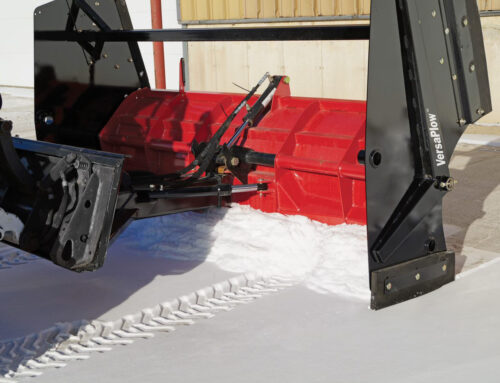
Red faceplates are used in all our straight blade plows, blue faceplates used with our double-acting V-plows, while gray faceplates are reserved for C-plows. Each faceplate and controller may vary, but they all use a four-way joystick to operate your plow.
Before attempting to replace your joystick, check the serial number. It should be located on the top end of your controller and have one or two letters with the serial number. The first letter indicates the type of plow, typically an S, V or C, while many controllers have a second letter: R. The R stands for removable and indicates that the joystick is removable.
Most controllers produced after 2005 have a removable joystick, while older options don’t. If you have an older controller that doesn’t allow you to remove and replace or reverse the joystick easily, you may have to replace your entire controller.
Remove Your Hiniker Joystick
The back of your Hiniker controller has four Phillips screws holding the backplate on. Carefully remove these screws and the backplate. You’ll see the removable joystick at the top of the controller with two sets of contacts.
Gently pick up the switch, being sure not to damage the contacts. Your joystick’s original orientation lowers your snowplow by pushing the switch forward and raises it by pulling the switchback.
Clean Your Joystick Switch
A malfunctioning switch may simply have debris that’s affecting its operation. Remove the diaphragm gasket and use compressed air to blow out around the switch carefully. Rock the switch back and forth to be sure any debris is dislodged.
Reverse Switch Directions and Faceplate
Choose whether you wish to install your joystick at the same orientation or reverse it. Simply place the switch in reverse orientation to raise your snowplow by pushing forward and lower it by pulling back. The faceplate is also reversible to display the correct switch orientation.
Replace and Test Your Switch
Carefully place your brand-new or cleaned out switch back and ensure the two sets of contacts are touching. Replace the backplate and carefully tighten the four Phillips screws, being sure not to over tighten them. Test your switch to be sure your controller is working properly and controlling your snowplow with complete efficiency.
Restore the Efficiency of Your Hiniker Snowplow Today
Reversible and replacement joystick switches on our controllers is just one more reason that Hiniker snowplows are leading the industry. Clear snow wherever you go and tackle new projects efficiently with your fully restored controller.
Contact us today to learn more about replacing your joystick or other information regarding your controller. If you’d like to watch a video tutorial, click here. Whether you’re looking to customize the direction of your brand-new plow joystick or maintaining your older controller by clearing away debris, follow these steps to enjoy complete control of your plow.

